Resizing Images
Prerequisites:
- Ingeniux CMS 10.6 must be installed. See CMS Statistics to check the site version.TroubleshootingIn CMS 10.0–10.5, an issue prevents users from saving resized images via the Ingeniux Image Manipulator. See Resizing Images via Assets Manager to resize images in CMS 10.0–10.5.
- The image asset must be checked out to the current user.
- The current user must have asset editing permissions.
Users can adjust the dimensions of images by resizing them.
Rather than navigating to the Assets Manager to resize images, users can use this shortcut tool to resize images without leaving the Site area.
Resize as needed to fit images within given spaces. Smaller dimensions can also decrease the image download duration.
Note
Changes saved in the Ingeniux Image
Manipulator register under the current checked-out version of the asset in
the Assets Manager.
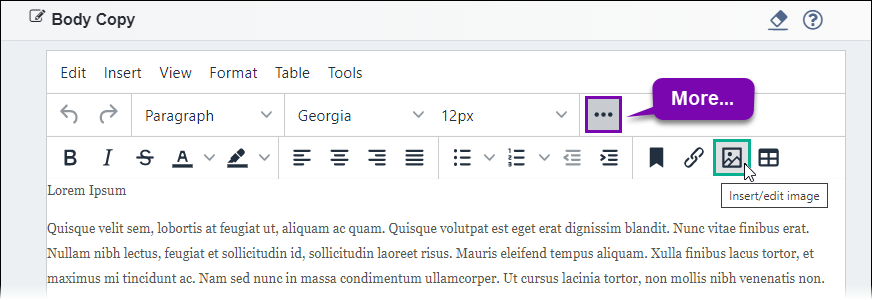
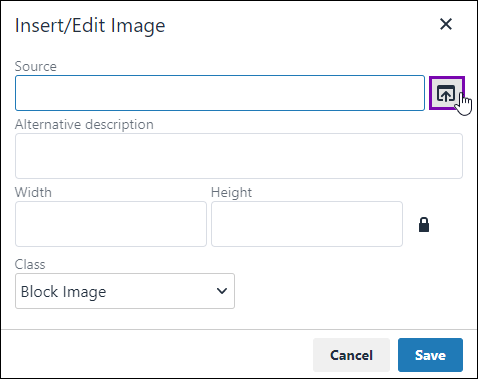
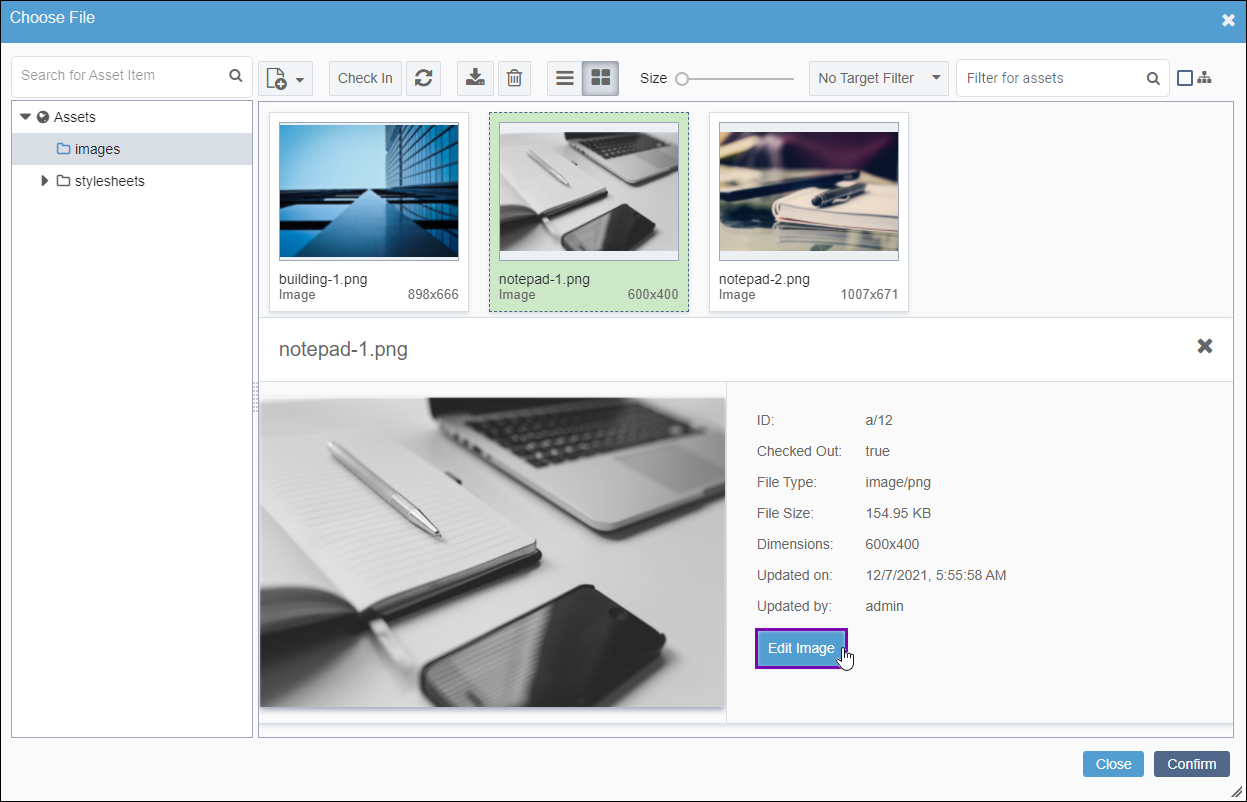
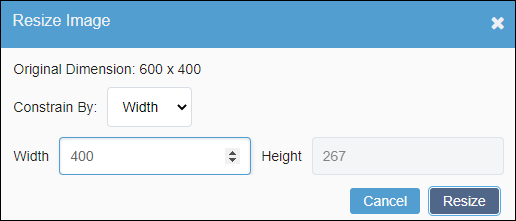
To resize images via the Ingeniux Image
Manipulator:


