Upload Fonto Templates
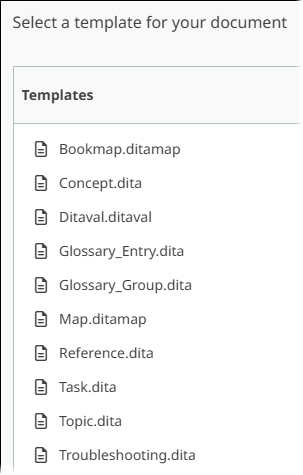
When creating new documents in Fonto, the editor prompts you to select a template from the DITA Root folder in the CMS Assets Manager. To create DITA assets successfully with Fonto, ensure templates are uploaded beforehand.
Fonto accesses templates from the Templates folder directly under your DITA Root folder (i.e., the DITA Root Asset Folder specified in ). You can add default templates or add your own templates to this folder at any time.
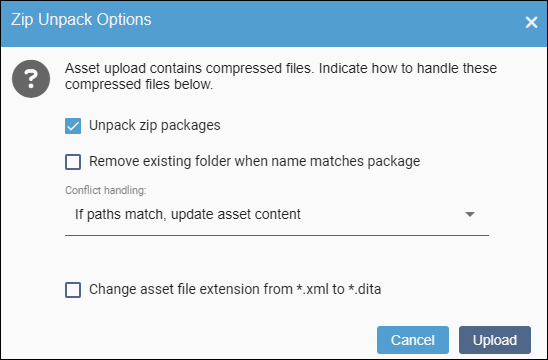
To upload the default templates .zip, follow the steps below. This package includes templates for creating basic DITA topics, maps, and other document types. If you want to create your own templates, keep the following in mind:
- Ensure all templates reside in the designated Templates folder under the DITA Root folder.
- As a best practice, we
recommend
not adding an
@idvalue to the root element of the template. The@idvalue will carry over to the newly created asset.NoteIf you edit a template in Fonto, the editor automatically autogenerates an@idon the root element. Ensure you manually remove this@idoutside of Fonto by using the template's Edit tab in the CMS Assets Manager. - You can add placeholder text to templates by wrapping the text in the
<fontoxml-text-placeholder>processing instruction element.
Next Steps:
Verify you can access the templates in Fonto. You can do so by completing the following steps:
- Navigate to a DITA asset or folder within the CMS, then open the DITA Authoring tab.
- In the editor, click
 to open the Create a document dialog.
 - Click Select a template to browse for a template.

- The folder is named Templates. This name is case sensitive.
- The folder resides directly under the DITA Root folder.

 in the folder's