Replacing Site Instances via the Ingeniux CMS 10.5–10.6 Site Wizard


Prerequisites: The replacement CMS export version must match or be lower than the current version of the Ingeniux CMS Site Wizard.

Replacing a site merges a CMS site export into an existing IIS instance of the CMS application.

When a site replacement takes place, the following occurs:

  • The existing CMS database merges with the new contents.
  • The replacement overwrites matching items in the database and adds any new items.
  • The export contents overwrite DSS Preview and upgrade to the wizard's software version.
To replace a CMS 9+ site instance with CMS 10.5–10.6:
  1. Follow the step that corresponds with your CMS site instance installation version.
    • Version Notes: CMS 10.6
      Navigate to Ingeniux CMS 10.6 > Ingeniux CMS Site Instance Wizard within your server's file system.
    • Version Notes: CMS 10.5
      Navigate to Ingeniux CMS 10.5 > Ingeniux CMS Site Instance Wizard within your server's file system.
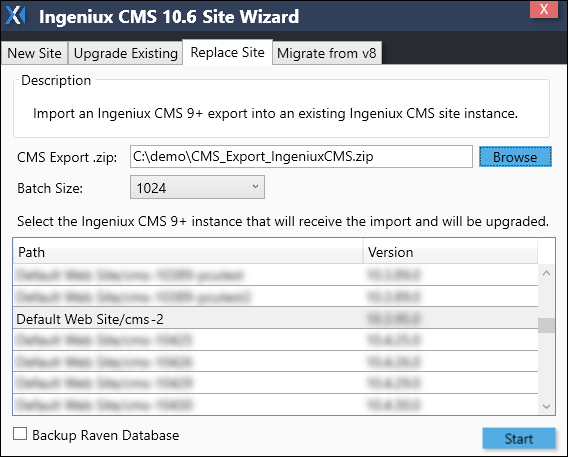
    The Ingeniux CMS Site Wizard dialog displays.
  2. Select the Replace Site tab.
  3. Click the Browse button to the right of the CMS Export .zip field.
  4. In the File Explorer dialog, navigate to and select the export .zip file that the wizard will use to replace the existing CMS site instance.
  5. Select the appropriate size in the Batch Size drop-down list.
    Note
    This field configures how many documents the system imports at once. Higher values speed up site creation but result in higher memory use. The wizard eventually imports all documents in the CMS export .zip file.

    Replace Site Instance Tab

  6. Select the Ingeniux CMS 9+ site instance that will receive the exported .zip file.
  7. Select or clear the Backup Raven Database checkbox.
    Version Notes: CMS 10.6 vs. CMS 10.5
    In CMS 10.6, the Backup RavenDB Database checkbox is cleared by default.

    In CMS 10.5, the Backup RavenDB Database checkbox is selected by default.

    When the checkbox is selected, the system backs up the Raven Database (RavenDB) instance on disk prior to the upgrade. For RavenDB 5.x upgrades from Ingeniux CMS 10.0-10.3 to 10.6 and for RavenDB 4.x upgrades from Ingeniux CMS 10.0-10.3 to 10.5, the system uses the backup to import the documents into the new RavenDB instance.
  8. Click Start.
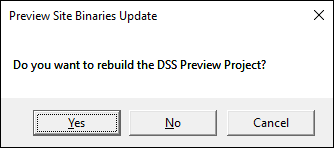
  9. Choose whether or not to rebuild the DSS Preview Project.

    Preview Site Binaries Update Dialog

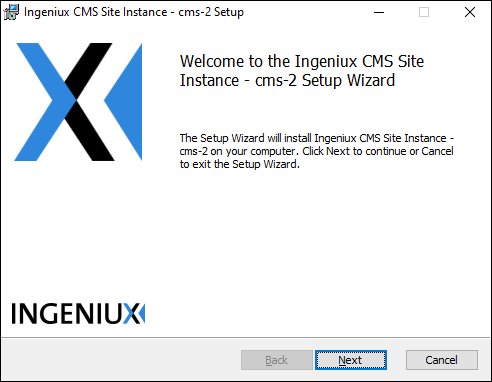
    The Preview Site Binaries Update dialog closes, and the Ingeniux CMS Site Instance Setup Wizard Welcome dialog displays.

    Site Replacement Wizard

  10. Click Next.
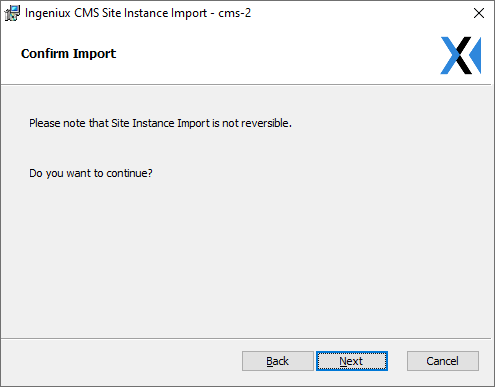
    The Confirm Import screen displays.

    Confirm Import Screen

  11. Click Next.
  12. Follow the version note that matches your CMS replacement site version.
    • Version Notes: CMS 10.5–10.6
      If you are using the CMS 10.5–10.6 Site Instance Wizard to replace a CMS 10.5 or CMS 10.6 site, the wizard advances to the Administrative User Configuration screen.
      • If you are using the CMS 10.6 Site Instance Wizard, the CMS already has RavenDB 5.2 installed.

      • If you are using the CMS 10.5 Site Instance Wizard, the CMS already has RavenDB 4.2 installed.

    • Version Notes: CMS 10.3 and Below

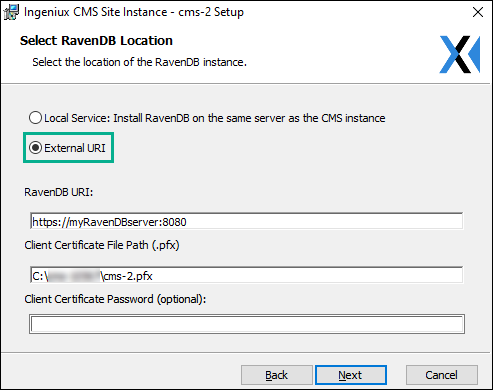
      The Select RavenDB Location screen displays.

      • If you are using the CMS 10.6 Site Instance Wizard to replace a CMS 9–10.3 site, the Ingeniux CMS Site Wizard upgrades the database to Raven Database (RavenDB) 5.2.

      • If you are using the CMS 10.5 Site Instance Wizard to replace a CMS 9–10.3 site, the Ingeniux CMS Site Wizard upgrades the database to RavenDB 4.2.

      See RavenDB Certificates to configure RavenDB and its security certificates. Return to this page for steps to complete the wizard.

      Select RavenDB Location Screen

      After completing the RavenDB location and certificate views, click Next to confirm your import settings.

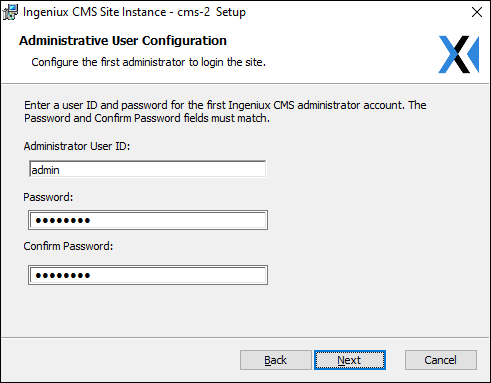
    The Administrative User Configuration dialog displays.

    Administrative User Configuration Screen

  13. Enter an Administrator User ID.
  14. Enter a password and then confirm your password.
  15. Click Next. The instance replacement setup begins.
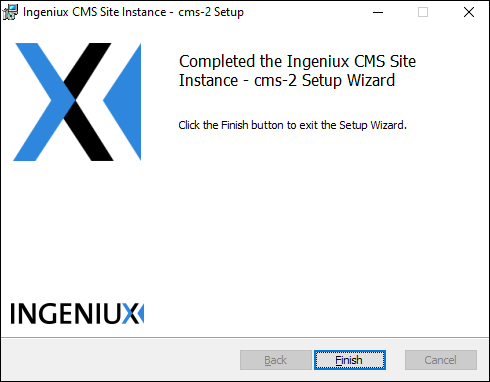
  16. When the instance replacement setup completes, click Finish.

    Completed Ingeniux CMS Site Instance Setup Screen