Replacing CMS 9+ Site Instances


Replacing a site will merge a specified CMS site export into an existing IIS instance of the CMS application. The existing CMS database will be merged with the new contents. Matching items in the database will be overwritten and any new items will be added. The DSS Preview will be overwritten by the export contents and upgraded to the wizard's software version. The CMS export used must be from an version that is older or up to the current version of the wizard.

To replace a CMS 9+ site instance:
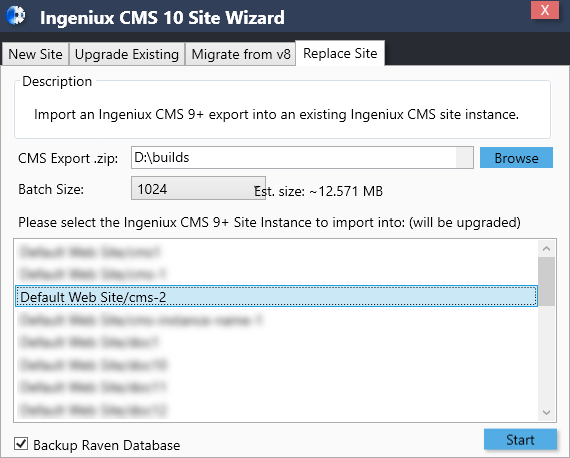
  1. Within your server's file system, navigate to Ingeniux CMS 10.0 > Ingeniux CMS Site Wizard.
  2. Select the Replace Site tab.
  3. Click the Browse button to the right of the CMS Export .zip field. A File Explorer dialog opens.
  4. Navigate to the export .zip file that will populate an existing CMS site instance.
  5. In the Batch Size drop-down list, select the appropriate size. This is a configuration for how many documents are imported during the site creation process. Higher values speed up site creation, but will result in higher memory use.

    Replace Site Tab

  6. Select the Ingeniux CMS 9+ site instance that will receive the exported .zip file.
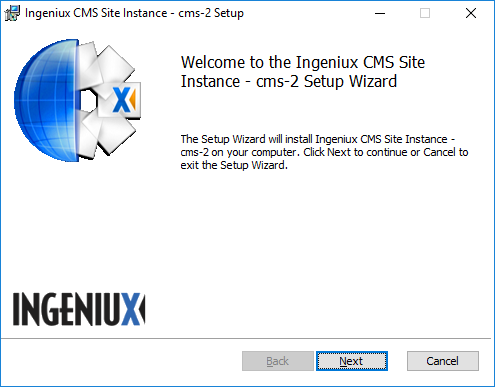
  7. Click Start. The Welcome dialog displays.

    Replace Instance Welcome Dialog

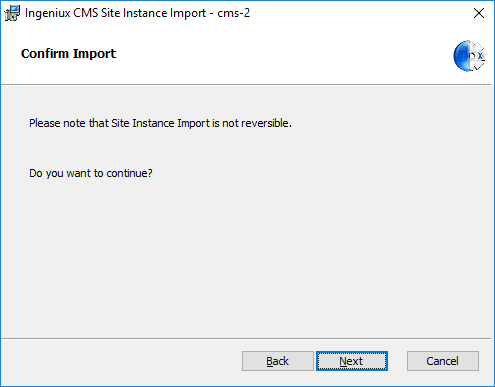
  8. Click Next. The Confirm Import screen displays.

    Confirm Import Dialog

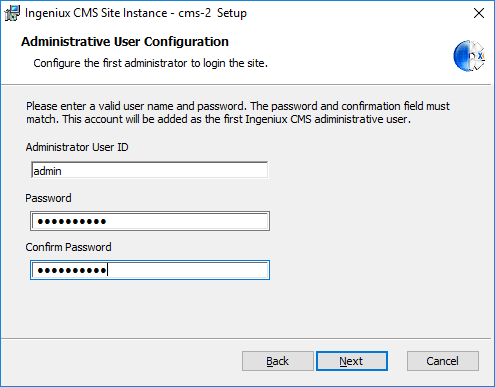
  9. Click Next to confirm your import settings. The Administrative User Configuration screen displays.

    Administrative User Configuration Dialog

  10. Enter an Administrative User ID.
  11. Enter a password and then confirm your password in the respective fields.
  12. When you're finished configuring the administrative account, click Next. The instance replacement setup begins.
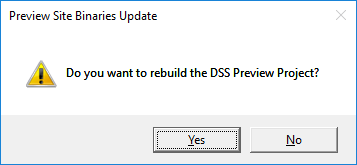
  13. If you want to rebuild the DSS Preview Project, click Yes.

    in-rebuild-dss-preview-project-1.png

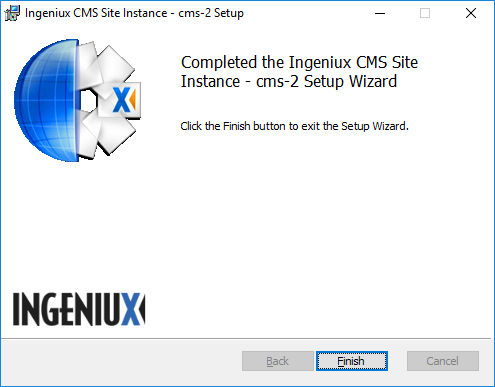
  14. When the instance replacement setup completes, click the Finish button in the final dialog.

    Completed Ingeniux CMS Site Instance Setup