Setting up an Ingeniux CMS site instance requires site administrators to install the CMS
platform beforehand.
Warning
Don't install IGXSetup.exe (or CMS instances) to a
temporary drive on a cloud virtual machine (e.g., AWS). The CMS installer suggests
installing the product on the largest detected drive. If the installer detects a cloud VM
temporary drive, ensure the installer chooses a different drive.
To install the CMS 10.6 or CMS 10.5 software platform:
- Navigate to and open IGXSetup.exe for the appropriate site version
(CMS 10.6 or CMS 10.5) in your system's File Explorer.
The system extracts the CMS installer and displays the
Ingeniux CMS
Product Setup dialog.

- Click Install.
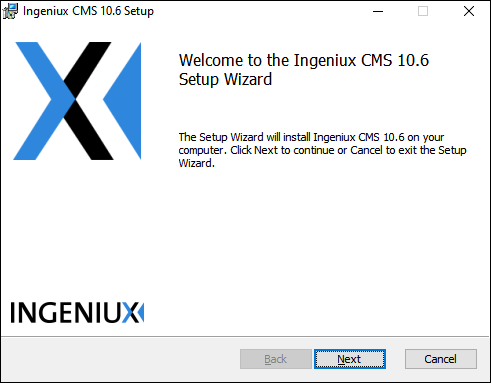
The
Ingeniux CMS Setup Wizard dialog displays.
- Click Next.
The
End-User License Agreement screen displays.
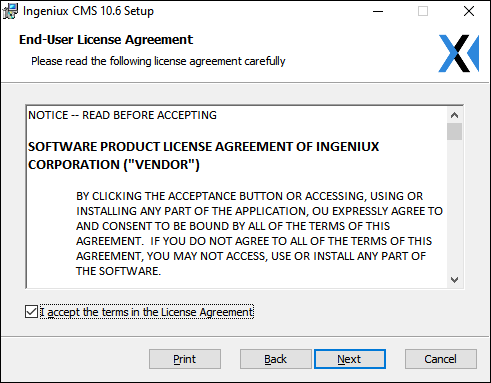
- Review the license agreement and select the checkbox to accept the terms.
Tip
Click Print to print a physical license agreement
copy.
- Click Next.
The
License Authorization screen displays.
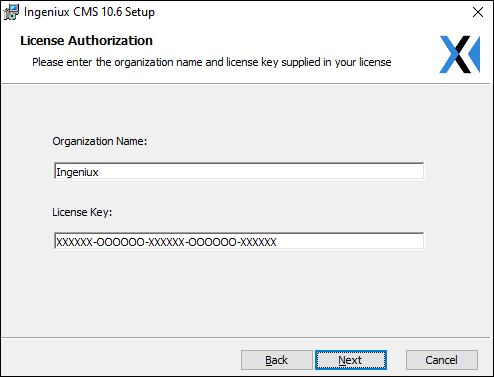
- Enter your organization name and license key.
- Click Next.
The
Choose Setup Type screen displays.
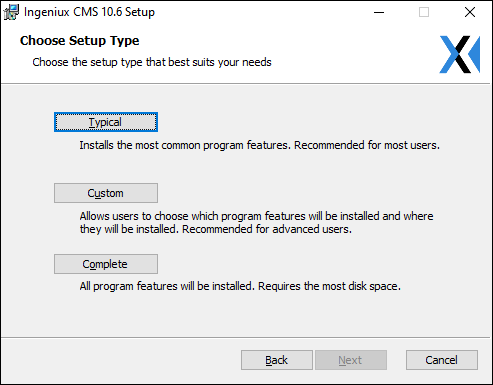
- Choose the setup type that best suits your needs.
- Select Typical (default) to install common Ingeniux CMS
features.
This type serves most user needs.
- Select Custom to choose what and where program features
install.
The Custom Setup screen displays. This type serves
advanced user needs.
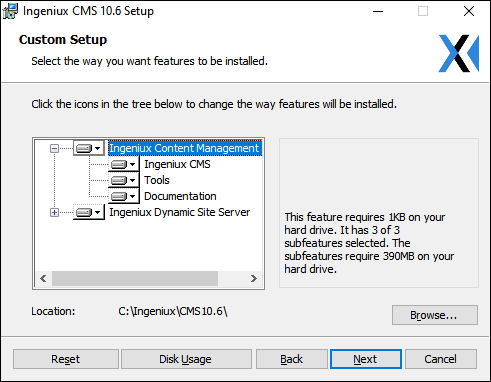
To change program features:
- Optional: Click Disk Usage.
The Disc
Space Requirements dialog displays. View available disc space in your
volumes and the total disc space required to install features.
Caution
Highlighted volumes lack disc space to install selected
features.
Click a server icon in the tree area to open the context menu. You can install a
feature on the local hard drive or make unnecessary features unavailable for
install.
Additional Information
The
Ingeniux CMS Site Instance tree includes:
The Ingeniux Dynamic Site Server
tree includes:
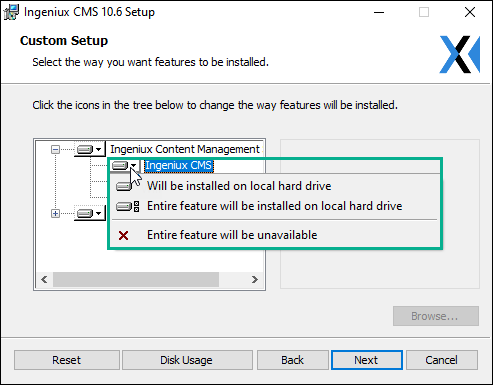
- Select Ingeniux Content Management in the tree area, and
click Browse in the Location field to
change the filepath for the CMS instance.
- Optional: Click Reset to return
feature options to their initial default values.
- Select Complete to install the full suite of CMS features.
Note
This type requires the most disk space.
- Click Next.
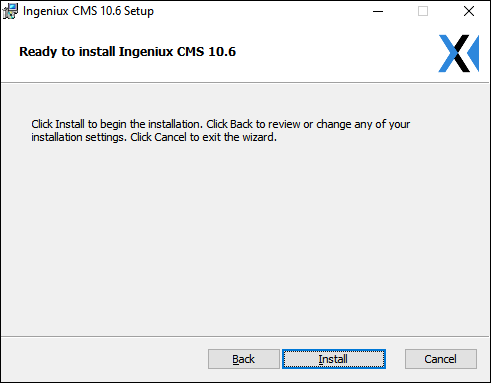
The Ready to install screen displays.
- Click Install to begin the CMS installation.
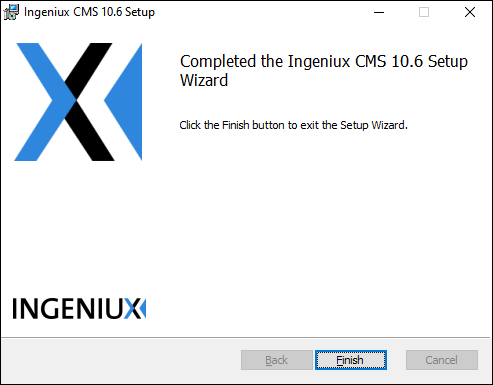
- Click Finish when the installation completes.
Next Steps: Create an Ingeniux CMS 10.5–10.6 Site Instance.


