Adding Assets to Workflow


Like pages, assets can be added to workflow. You may want to design new workflows for your assets or use your existing workflows. Assets do need to be checked in and marked for publish in order display on your live website, so if you have a policy of workflow for pages, you will most likely need to implement the same for assets.

To add an asset to workflow:
  1. Navigate to Assets > Assets Tree.
  2. Navigate to the asset that you want to add to workflow in the Assets Tree.
  3. Choose one of the following steps.
    • Navigate to the asset's Overview tab , and click the Add to Workflow button.
    • Right-click selected assets in the Assets Tree and select Add to Workflow.
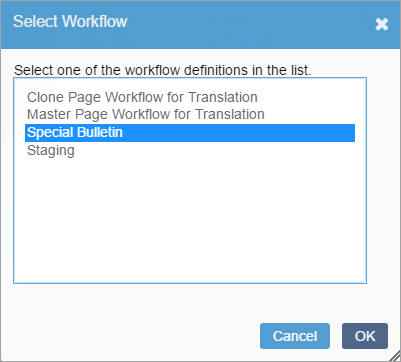
    The Select Workflow dialog displays.

    Select Workflow

  4. Select one of the workflow definitions in the list.
    Note
    An administrator must create workflows before they display in the Select Workflow dialog.
  5. Click OK. The asset has now been added to the selected workflow.
    Note
    Using the Add to Workflow button on the Overview tab adds only the single asset, while using the right click method adds all selected assets at once. All selected assets should be out of workflow for this to work properly.