Upgrading Existing DSS Site to Version 10.5–10.6


Prerequisites:
  • If you're upgrading a classic Run Time instance (XSLT Run Time site), upgrade the instance to Ingeniux CMS DSS 10.3 before CMS DSS 10.5–10.6. See CMS 10.0–10.3 Upgrade Considerations for details.
  • Important: If your DSS site uses InSite Search, then ensure your implementation uses an InSite Search version compatible with your upgraded CMS and DSS version.

System administrators can upgrade Ingeniux CMS 9.x or CMS 10.x DSS site instances to CMS version 10.5–10.6.

To upgrade your existing DSS site instance to the CMS 10.5–10.6 DSS:
  1. Follow the step that corresponds with your CMS site instance installation version.
    • Version Notes: CMS 10.6
      Navigate to Ingeniux CMS 10.6 on your server's file system, and select the Dynamic Site Server 10.6 Setup Wizard.
    • Version Notes: CMS 10.5
      Navigate to Ingeniux CMS 10.5 on your server's file system, and select the Dynamic Site Server 10.5 Setup Wizard.
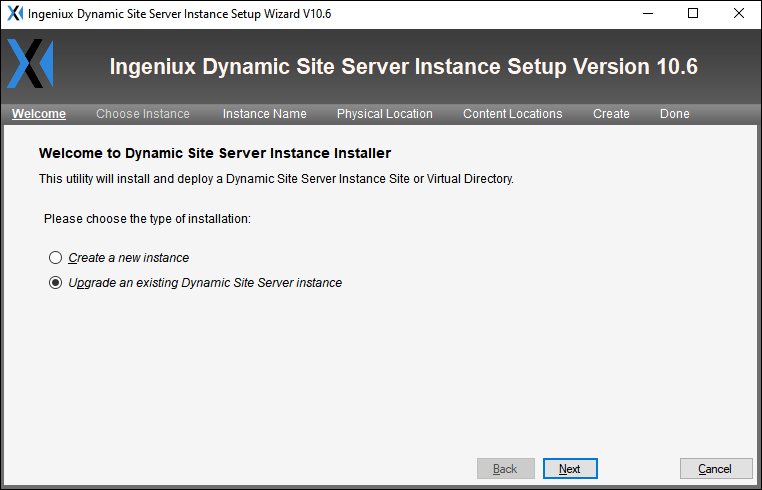
    The Welcome screen of the Ingeniux Dynamic Site Server Instance Setup Wizard dialog displays.

    CMS 10.6 DSS Welcome Screen

  2. Select the Upgrade an existing Dynamic Site Server instance option.
  3. Click Next.
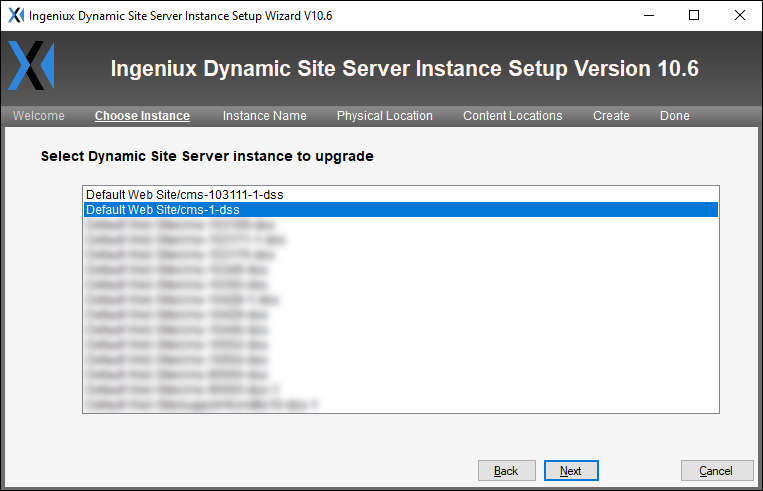
    The Choose Instance screen displays.

    CMS 10.6 DSS Choose Instance Screen

  4. Select the DSS instance to upgrade from the list.
  5. Click Next.
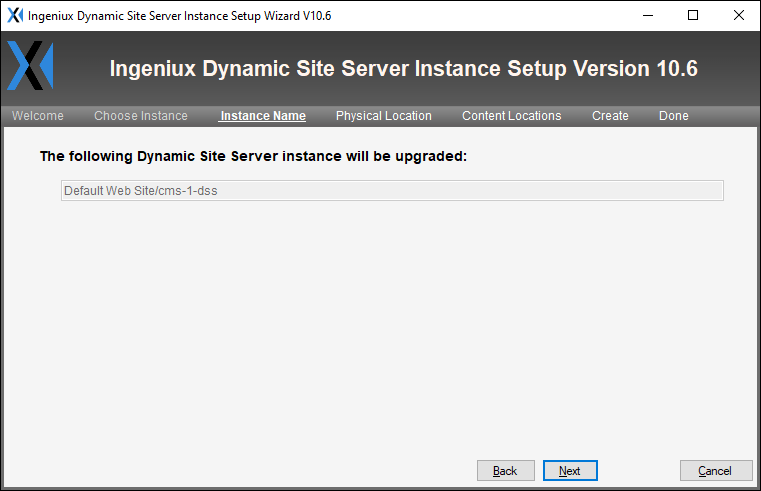
    The read-only Instance Name screen displays.

    CMS 10.5 DSS Instance Name Screen

  6. Verify that you selected the correct DSS instance to upgrade.
  7. Click Next.
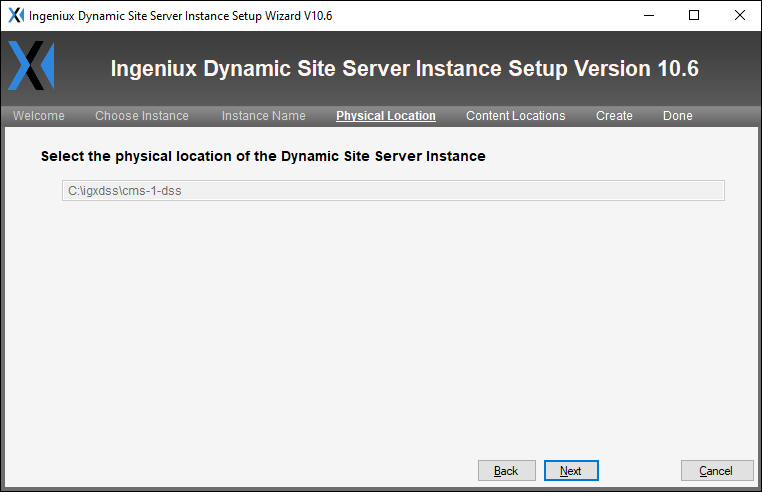
    The read-only Physical Location screen displays.

    CMS 10.6 DSS Physical Location Screen

  8. Verify that the provided field value contains the correct the DSS instance filepath.
  9. Click Next.
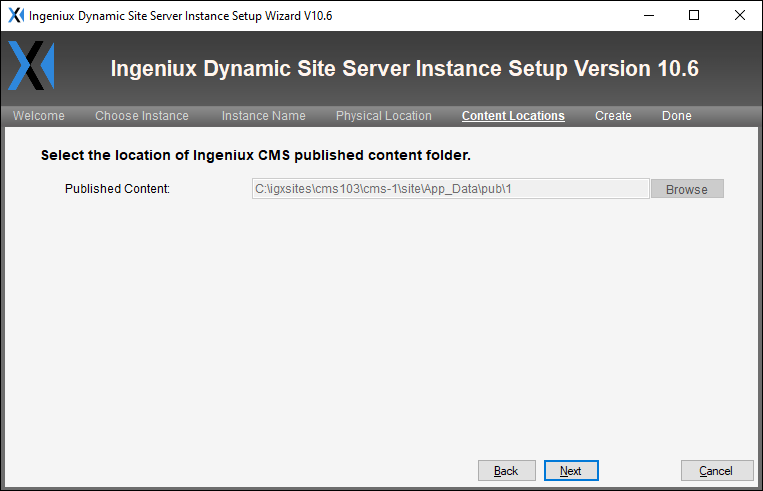
    The read-only Content Locations screen displays.

    CMS 10.6 DSS Content Locations Screen

  10. Verify that the wizard auto-populates the correct path to the published content folder.
  11. Click Next.
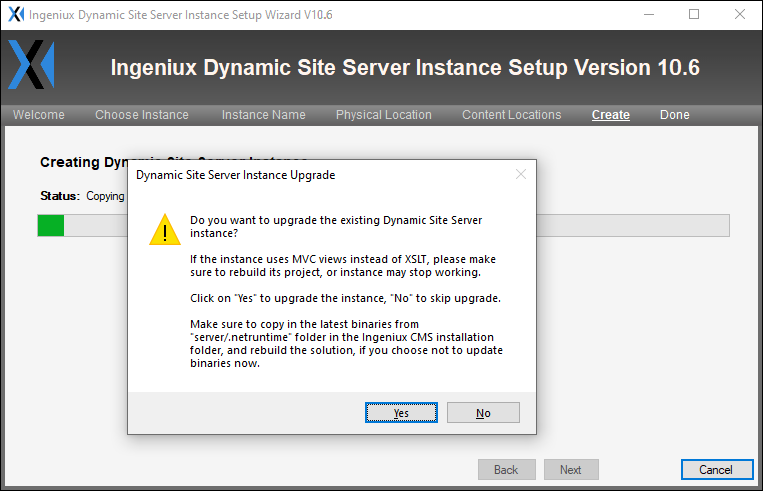
    The Dynamic Site Server Instance Upgrade confirmation dialog and read-only Create screen displays.

    Upgrade CMS 10.6 DSS Confirmation Dialog

  12. Choose one of the following options in the Dynamic Site Server Instance Upgrade confirmation dialog.
    Note
    In general, the system requires you to rebuild most projects via Visual Studio.
    • Select Yes to confirm upgrading the DSS instance. If selected, the system completes the following actions:
      • Updates the project's \bin folder with new DLL files that reflect the new version of the DSS after upgrade completion.
      • Creates a Web.config.bak file and overwrites any existing Web.config.bak values. Web.config is then updated with new relevant values.
      • Creates backups of particular files (asset controller, helpers, etc.) and gives them date extensions before overwriting them with new file versions.
    • Select No to skip the upgrade. If selected, the system creates a backup of Web.config and overwrites any existing Web.config.bak values. Web.config is then updated with new relevant values.

      Note
      We generally recommend selecting No when your implementation uses heavy customization for controllers that requires developers to extensively merge code before rebuilding. Otherwise, select Yes.
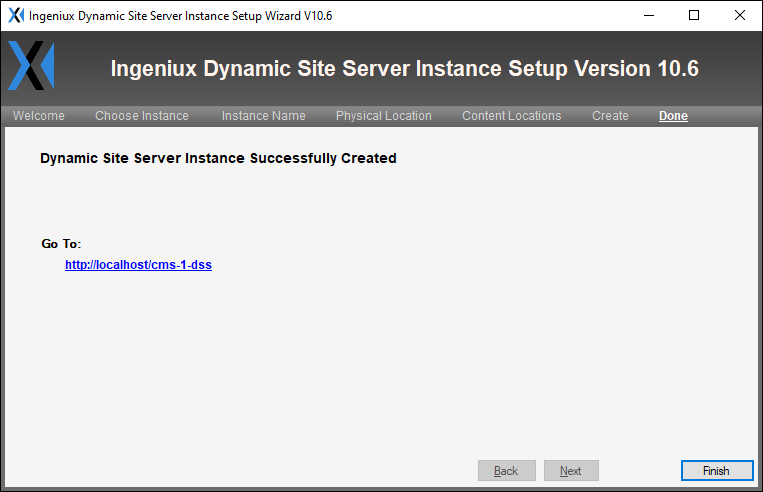
    The Done screen displays when the upgrade completes, and the setup wizard creates a new DSS instance.

    CMS 10.6 DSS Instance Successfully Upgraded

  13. Click the link to navigate to your DSS instance.
  14. Click Finish to close the wizard.

Next Steps (optional): After upgrading your DSS, we recommend reviewing the CMS 10.5–10.6 DSS Upgrade Checklist.