Setting up an Ingeniux CMS site instance requires site administrators to install
the CMS platform beforehand.
Warning
Do not install IGXSetup.exe (or CMS instances) to a temporary
drive on a cloud virtual machine (e.g., AWS). The CMS installer detects the largest
drive to install the product on, which could be a cloud VM temp drive, so you need to
ensure that the installer does not install IGXSetup to a temp drive of a cloud
VM.
To install the platform for Ingeniux CMS 10.0–10.3:
- Double click the IGXSetup executable. This extracts the
Ingeniux CMS Installer.
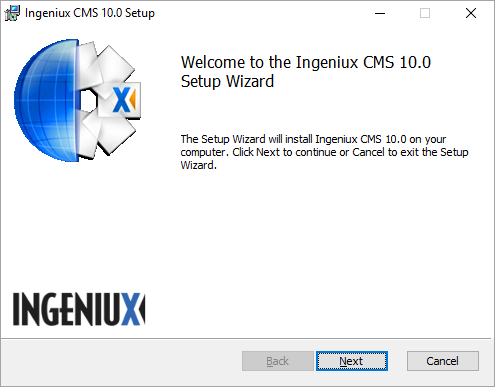
- Click Install. The Welcome to the Ingeniux CMS
10.0 Setup Wizard dialog displays.

- In the Welcome dialog, click Next. The End-User
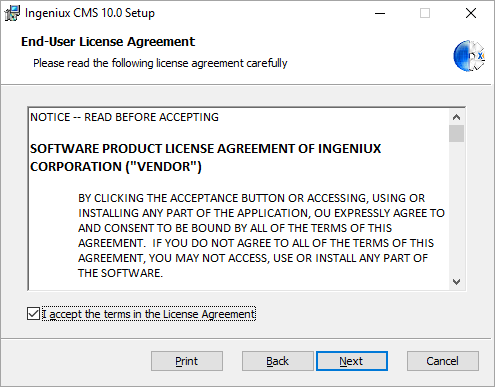
License Agreement dialog displays.
- On the End-User License Agreement dialog, please read the
license agreement and then select the checkbox to accept its terms.
Note
You can click Print to
print the license agreement.
- Click Next. The License Authorization
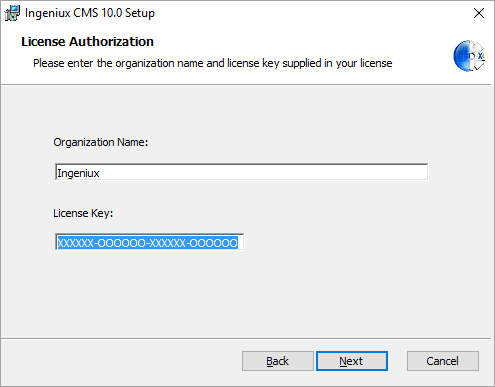
dialog displays.
- In the License Authorization dialog, enter your
organization's name and your license key.
- Click Next. The Choose Setup Type
dialog displays.
- Select the setup type that best fits your needs.
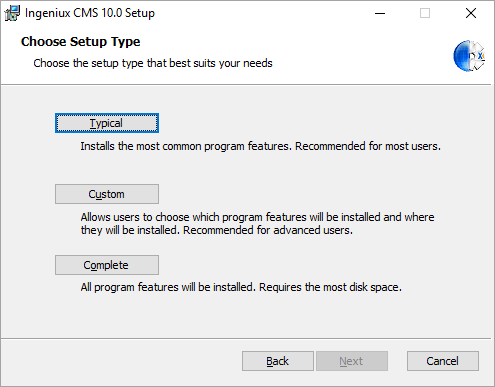
There are three options: - Typical: Installs the most-common Ingeniux CMS features.
This option is adequate for most users. By default,
Typical has been selected. Click
Typical to confirm this choice.
- Custom: Lets you choose which program features are
installed, and where. Selecting this options opens a dialog with a tree view of
the CMS system. Click Browse to change the default
installation location.
- Complete: Installs the full suite of CMS features.
- After selecting a setup type, click Next.
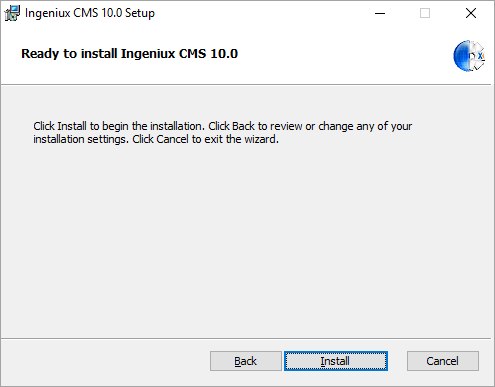
- Click Install to begin the CMS installation.
- When the installation completes, click Finish.
Next Steps: Create a CMS
10.0–10.3 Site Instance.


